iPod Recovery Software Screenshots

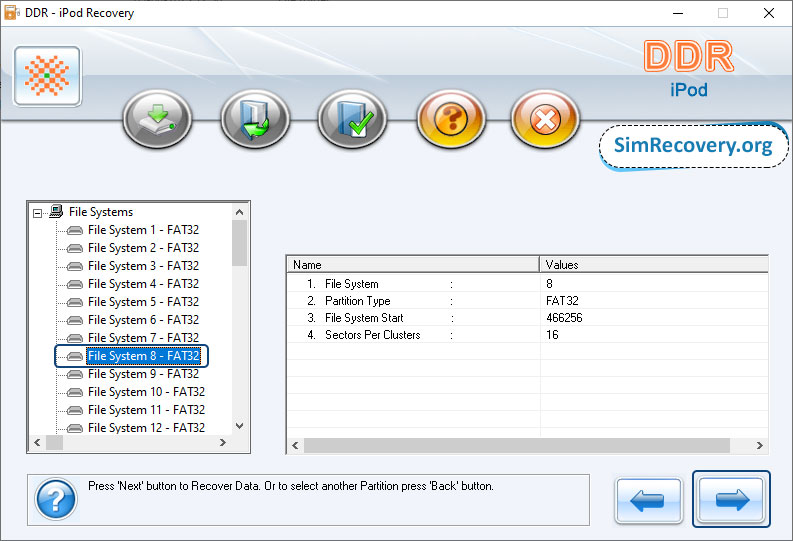
Select “Partition” from the left panel from which you want to recover data and you will see the partition details on the right panel as shown in the above screenshot.

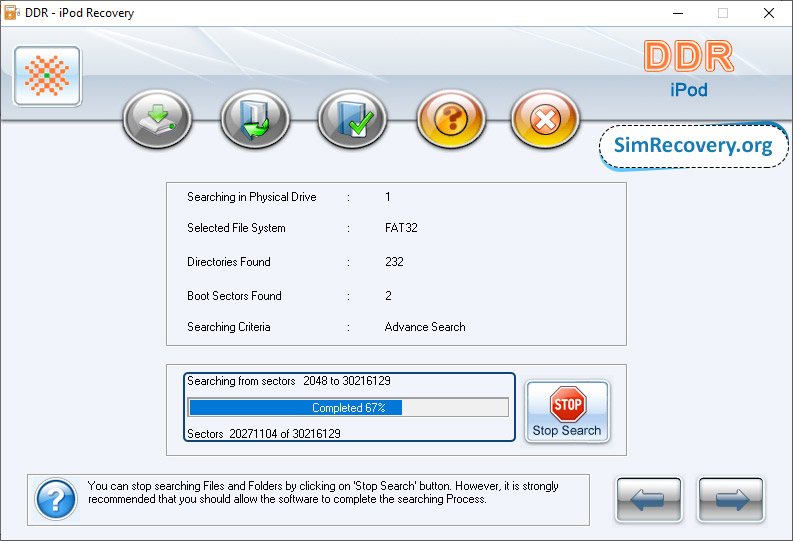
After that your file searching process starts, you will see the progress bar to view running status of disk scanning process. You can also click on "Stop Search" button to stop the searching process immediately.

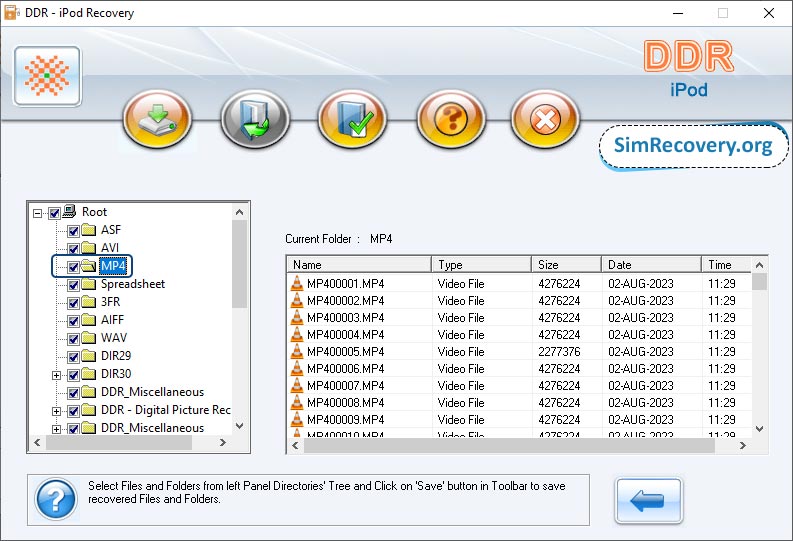
Once the searching process is fully completed, you will see all your files are recovered on the screen. Now, select the files and folders from the left panel and click on "Save" button to save the recovered data.

 Go Back